Wiring The Printer
After gathering all the extra hardware, printing the parts, and buying parts for the printer, it is finally time to assemble it. The first step of the assembly involves mounting the linear rail, which comes with fairly straightforward instructions for installing it.
We will not be using this part from the kit shown above.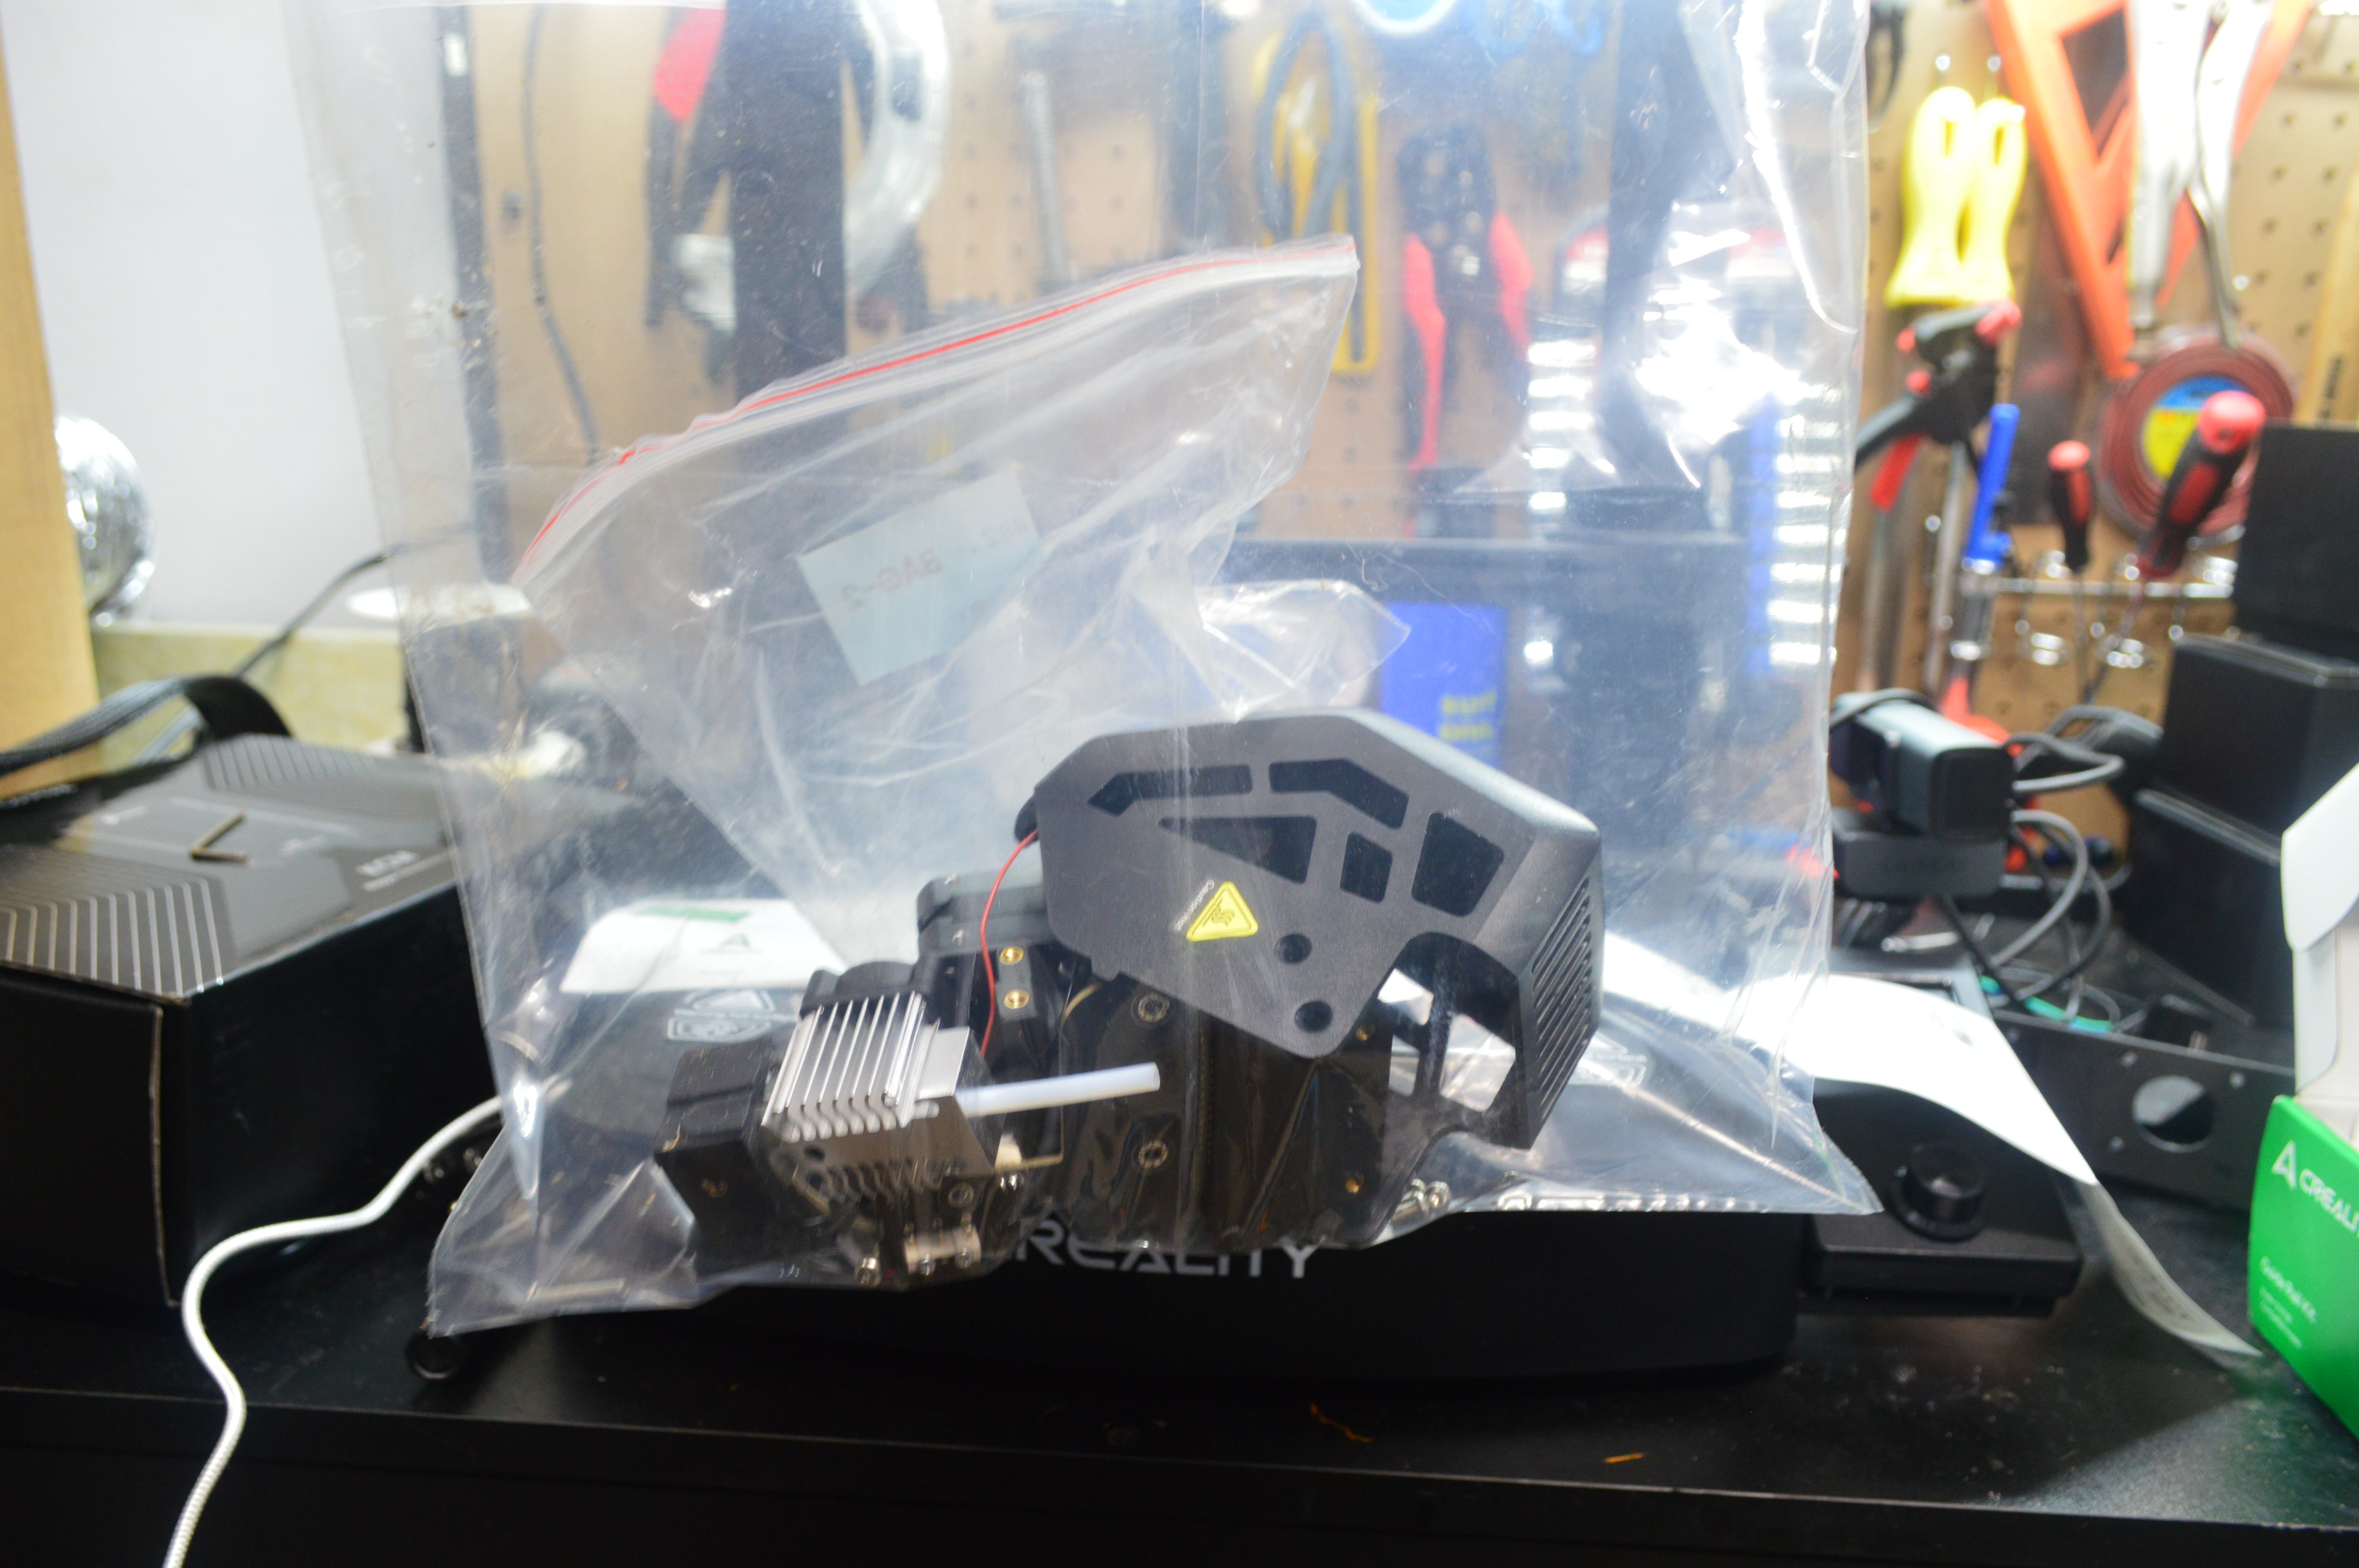
After removing the stock extruder from the printer, store it in a bag somewhere with the screws just in case you change your mind about installation. 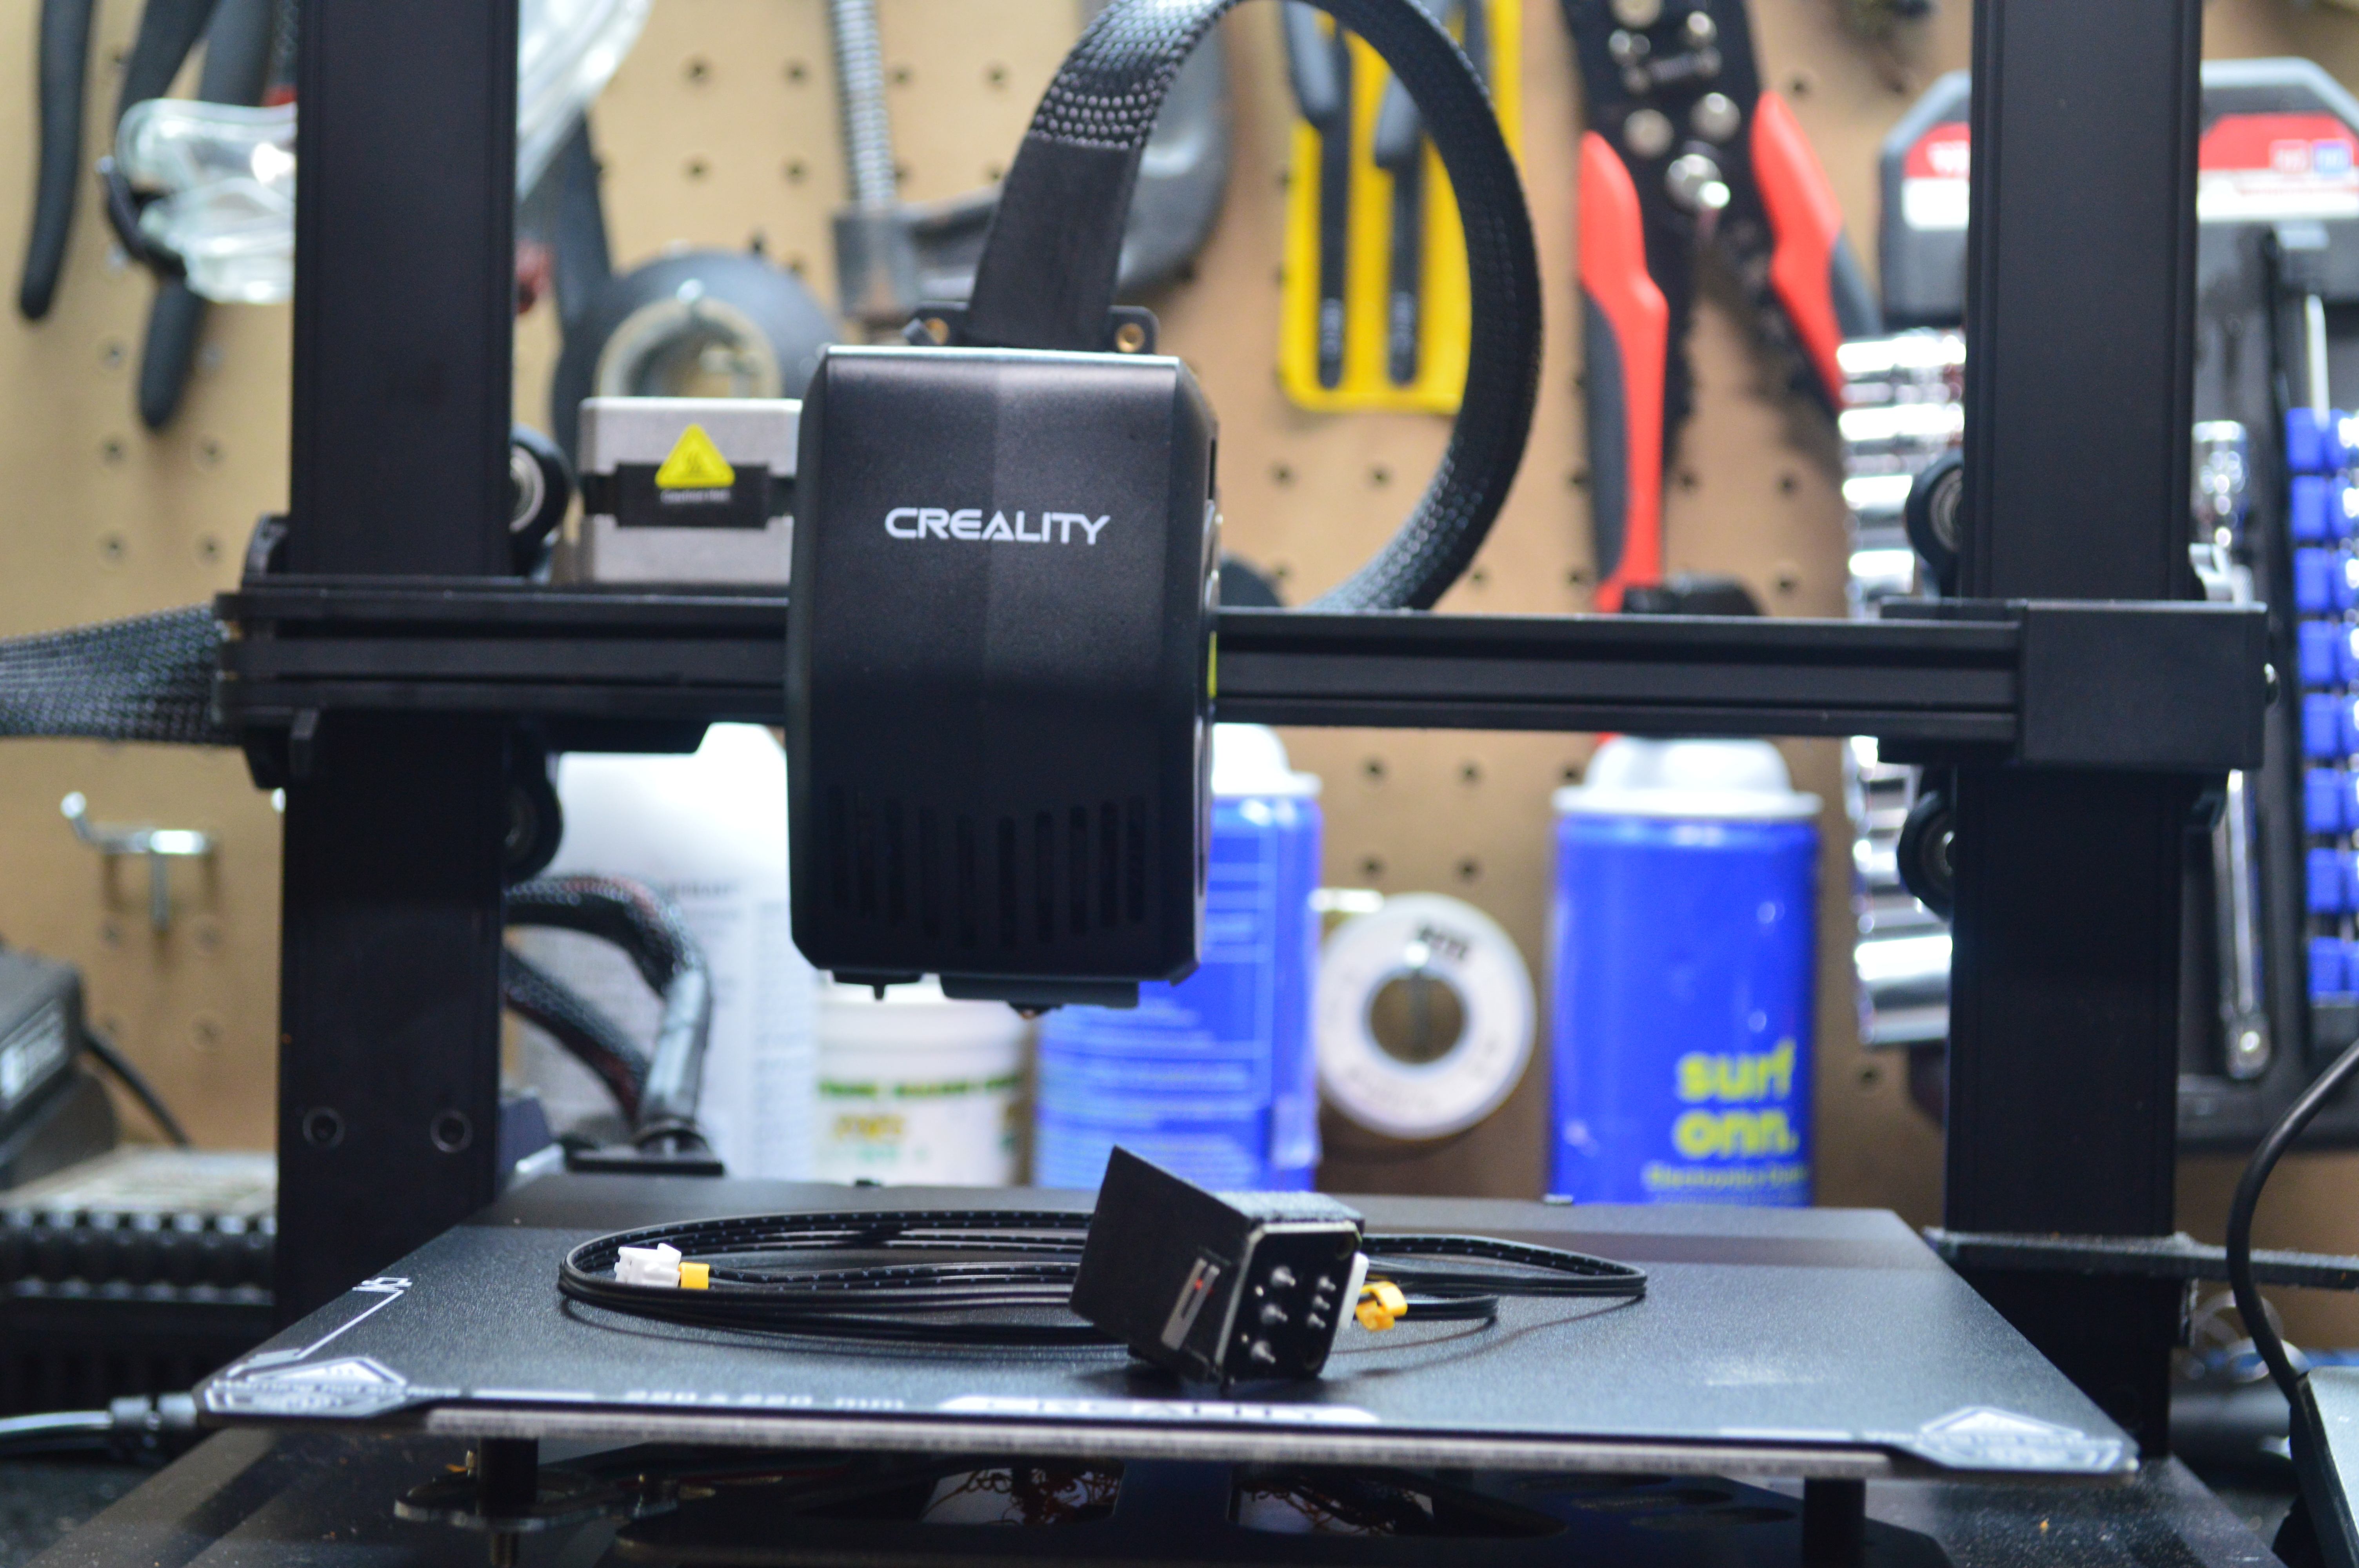
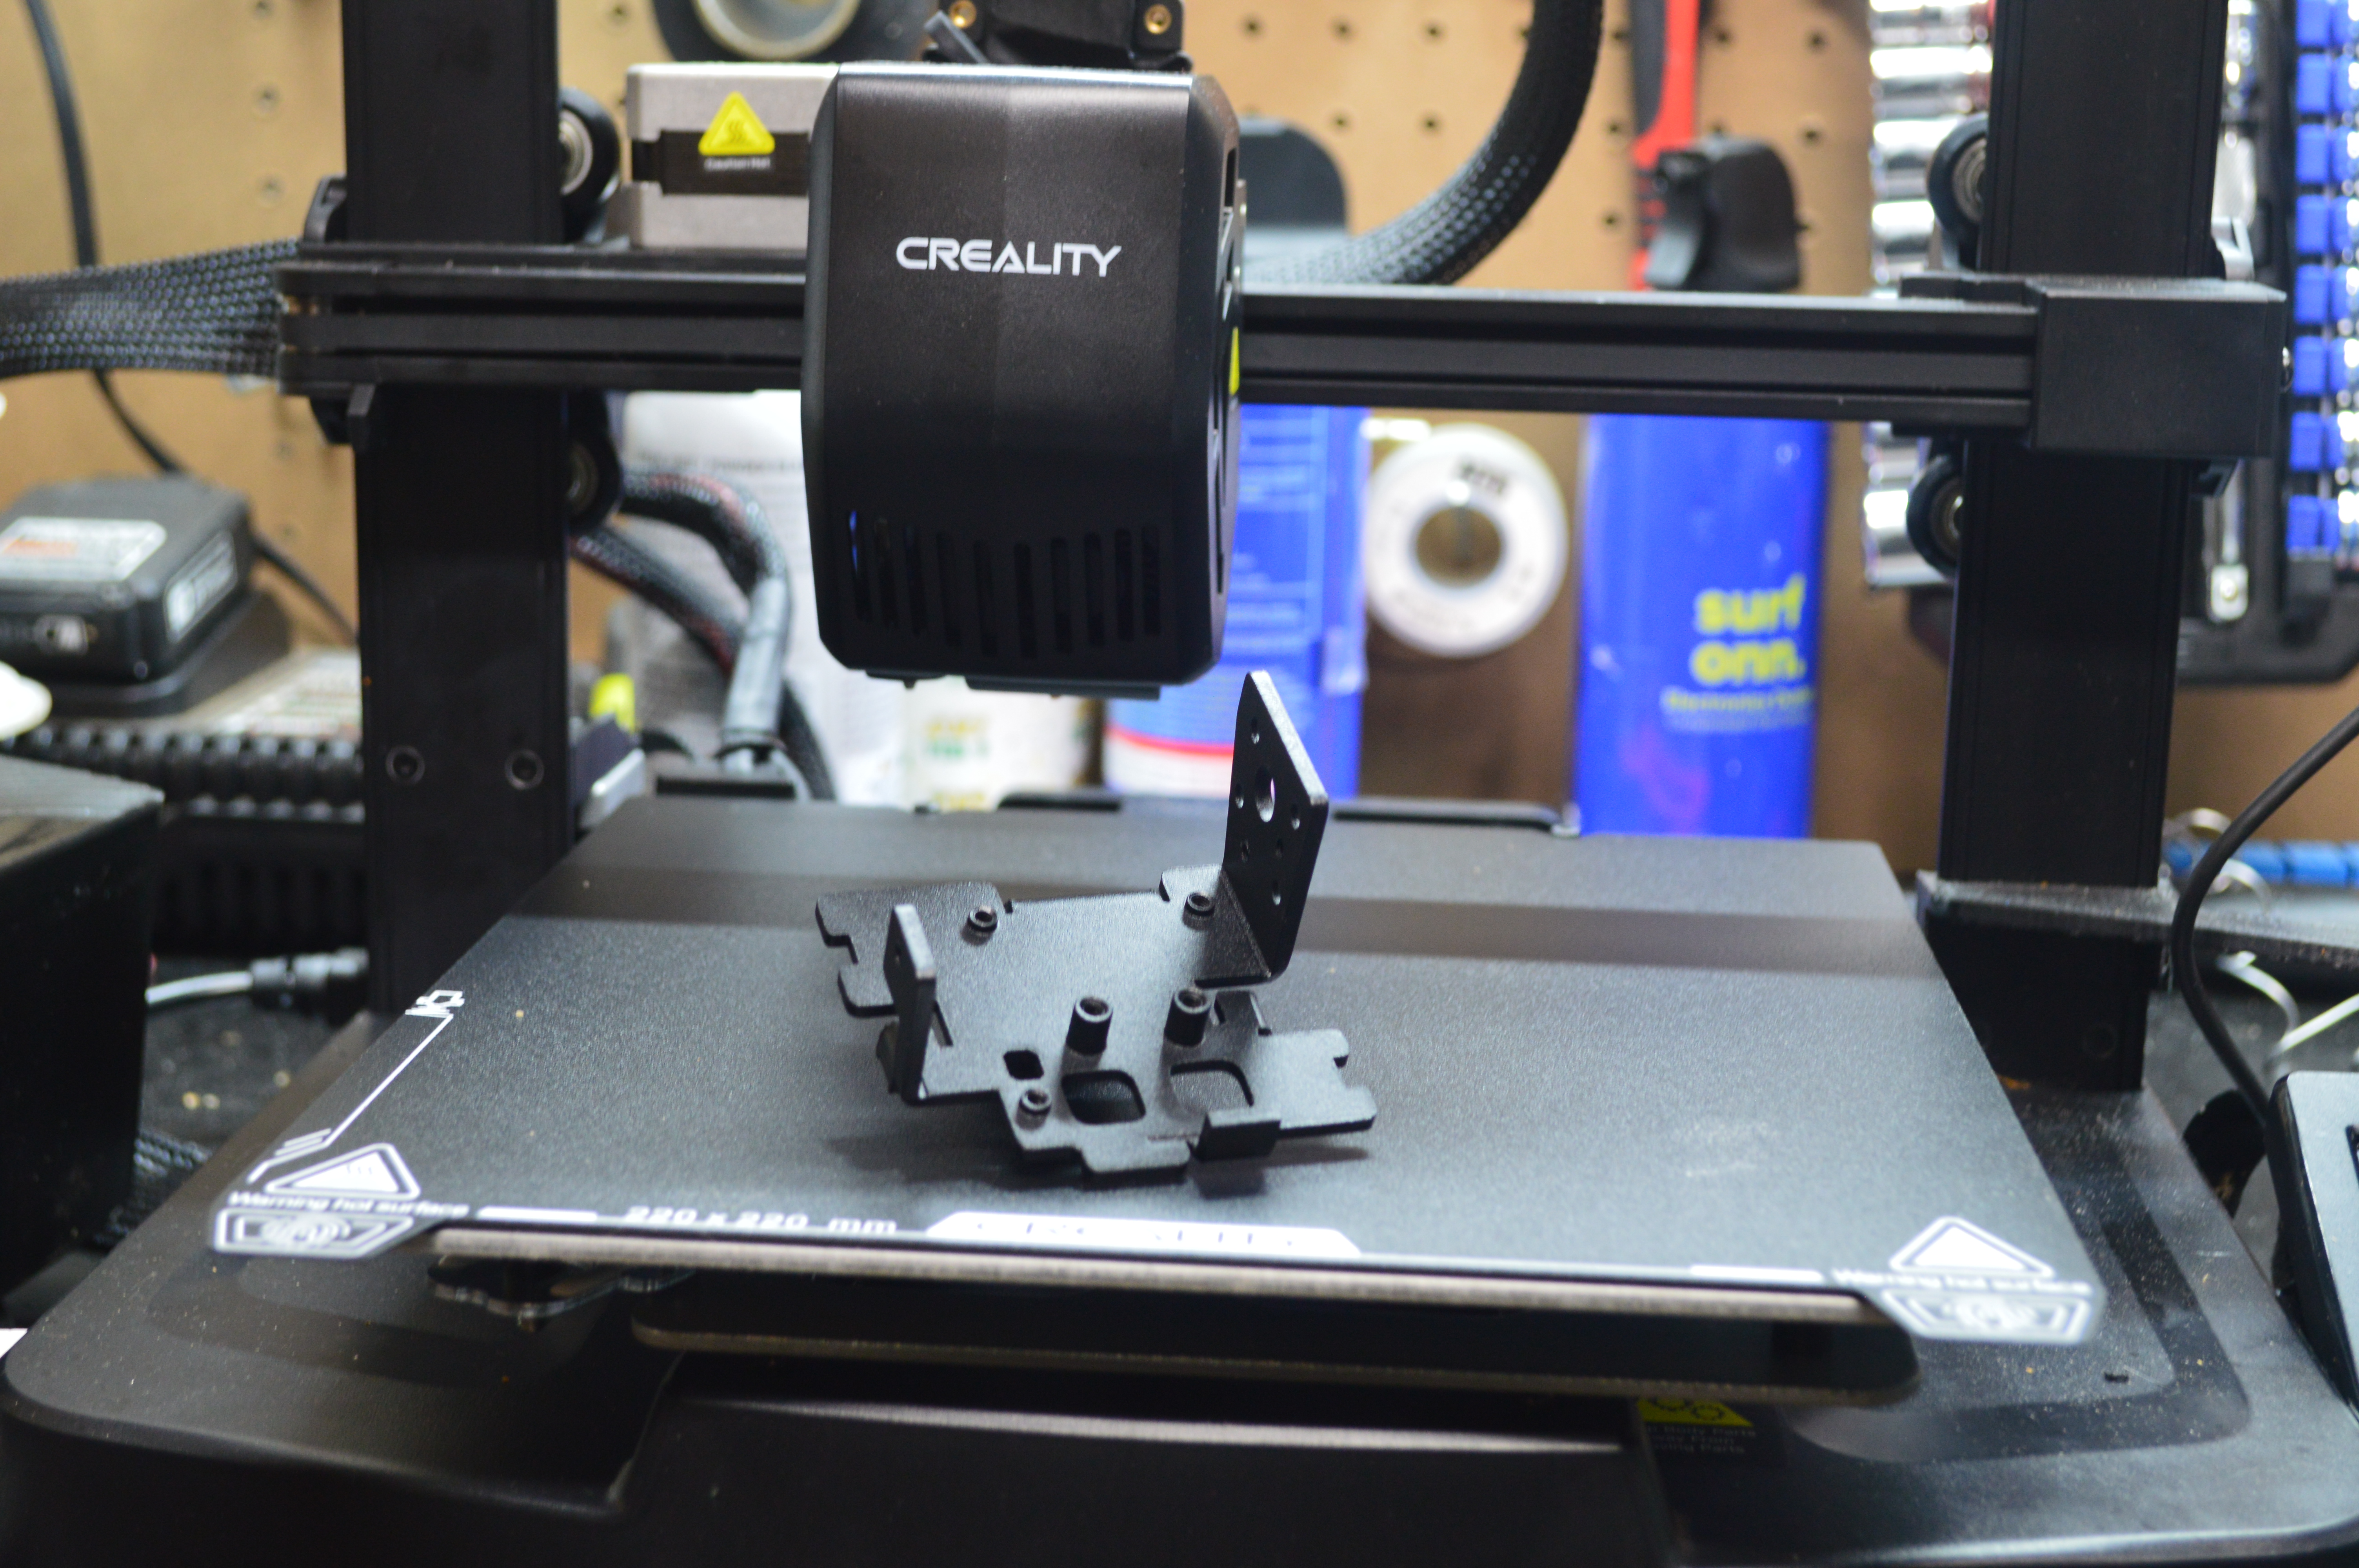
After installing the linear rail, it is finally time to mount the X-axis endstop. Remove the old endstop plate and screw in the printed endstop after assembling it.
To wire up the endstop, we must use the breadboard male to male jumper wires. Connect the male wires to the endstop connector. Connect the two male jumper wires to the ribbon cable. To find the right connection point, look for the white on the ribbon cable connector, which signifies ground.
If we follow the pinout diagram here:
Wiring Diagram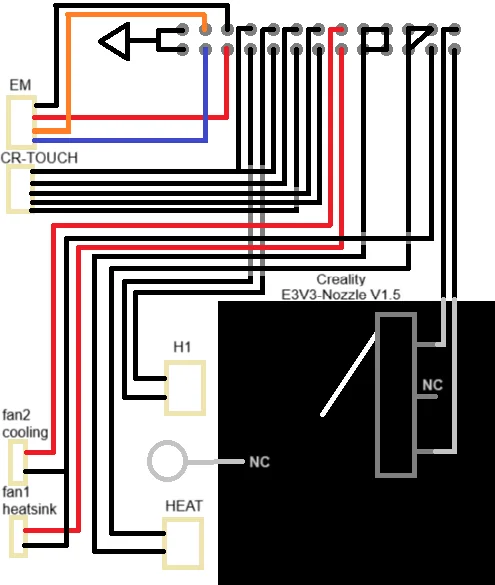
The X-axis switch is at the opposite end of the ground according to wiring diagram. Ground is signified by the white wires on the ribbon cable. Connect the end stop to the ribbon, as in the photo below.
Labeling the CX-1 wires order of connection to the KCM is important!
CoPrint KCM wiring diagram: Link
.png?h=b97793ecde9e459ba6be257b40add91a)
